Electronic Visa(eVisa) for Japan: How to Apply Online in Dubai
Japan is a dream destination for many travelers from Dubai. With its blend of ancient culture, stunning natural landscapes, and cutting-edge technology, it’s no wonder why so many people want to visit. If you’re planning a trip to Japan, you’ll need to get a Japan visa first. Thankfully, Japan offers an electronic visa (eVisa) that makes the application process easier and more convenient for UAE residents. In this post, we’ll walk you through every step of applying for a Japan eVisa from Dubai, so you can focus on planning your exciting adventure.
Requirements for Applying Japan eVisa from Dubai
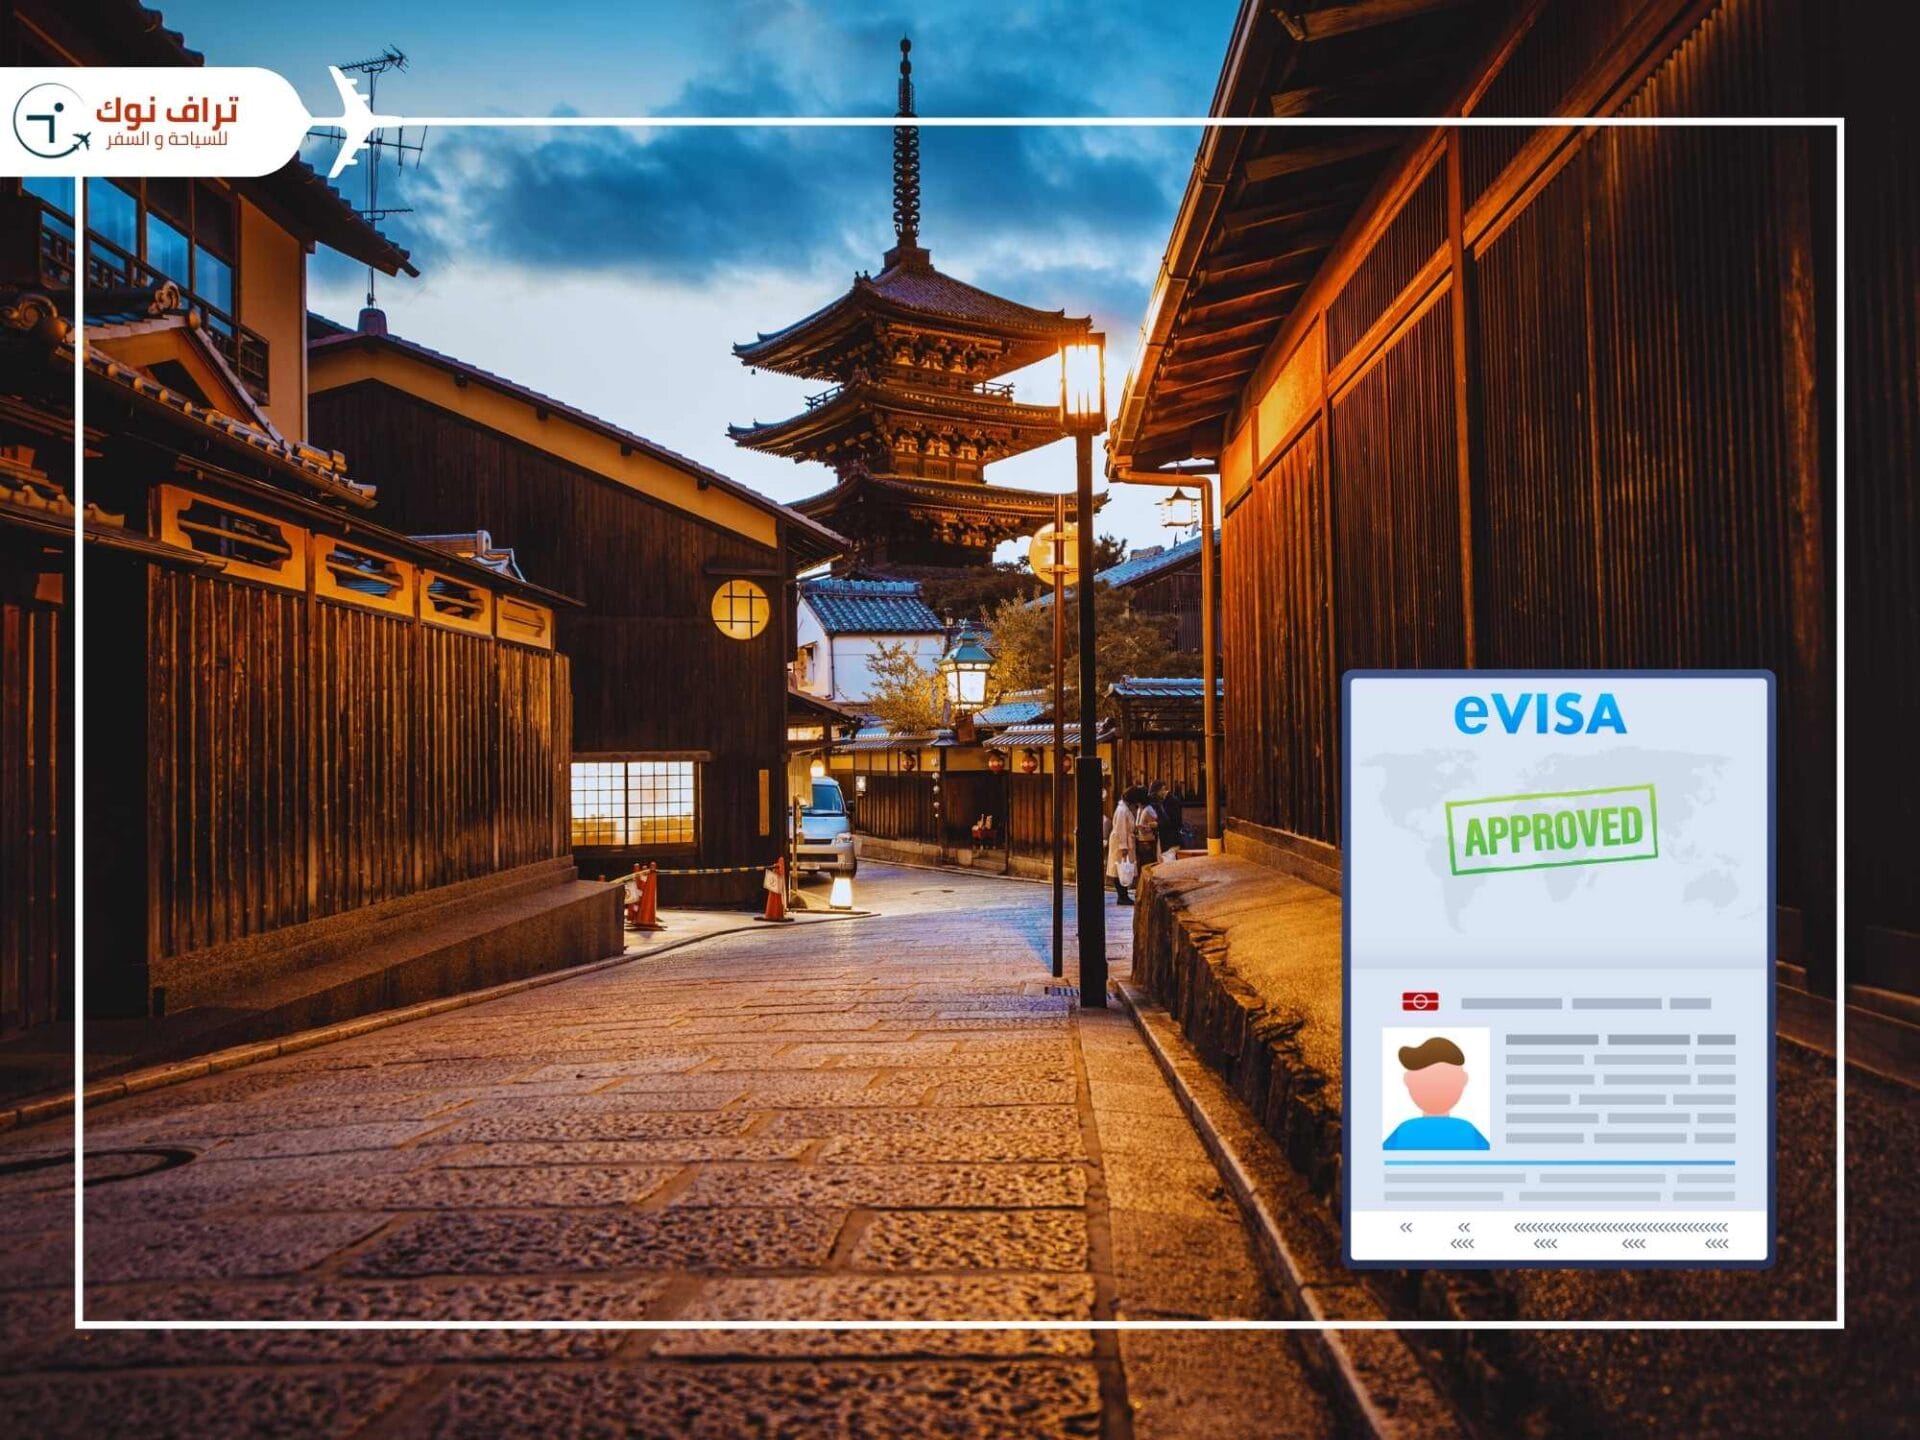
Before diving into the application process, it’s important to understand what a Japan eVisa is. An eVisa is an electronic visa that allows you to enter Japan for tourism purposes. Unlike traditional Japan visa that require a visit to the embassy, the eVisa process is entirely online. This means you can apply from the comfort of your home or office in Dubai.
Read More: Detailed Japan Visa Requirements for UAE Residents

Who Can Apply for a Japan eVisa from Dubai?
UAE nationals can enter and stay in Japan visa-free for tourism up to 30 days. The Japan eVisa is available to UAE residents with foreign nationalities who wish to visit Japan for tourism. However, it’s important to check the specific requirements and eligibility criteria before you begin the application process. Generally, the Japan eVisa is issued for short-term stays, typically up to 90 days, and is meant for tourism purposes only.
Japan Visa for School Trips from the UAE
Applying for a Japan visa for school trips from the UAE follows a different process than individual tourist or eVisa applications. Japanese authorities treat school travel as a group educational visit, requiring additional documentation to ensure student safety and a clearly defined itinerary. The school or an authorized travel agency submits the complete group application to the Japanese Embassy or Consulate in the UAE. Processing typically takes 5–10 working days, though schools are advised to apply 3–4 weeks in advance to avoid delays.
Contact Travnook to assist you in getting the Japan Visa for school trips from Dubai.
Documents Required for Applying Japan eVisa from Dubai
To apply for a Japan eVisa from Dubai, you’ll need to prepare several documents. Having these ready will make the application process smoother:
- Valid Passport: Your passport must be valid for at least six months beyond your intended stay in Japan. Ensure that it has enough blank pages for visa stamps.
- Recent Photograph: A digital passport-sized photograph taken within the last six months. The photo should be in color, with a white background, and must meet Japan’s visa photo requirements.
- Travel Itinerary: A detailed travel itinerary that includes your flight bookings, accommodation details, and planned activities in Japan. Make sure your itinerary is clear and accurate.
- Proof of Financial Stability: Bank statements or other financial documents to prove that you can support yourself during your stay in Japan.
- Proof of UAE Residency: Valid three months beyond the intended date of departure.
Japan eVisa Application Process in Dubai
Now that you have your documents ready, let’s go through the step-by-step process to apply for a Japan eVisa from Dubai. Get expert assistance from our team of visa consultants at Travnook for smooth application.
Step 1: Visit the Japan eVisa Website
Start by visiting the official Japan eVisa application website. This is where you’ll fill out and submit your visa application form. Ensure that you’re using the official site to avoid scams or unofficial services.
Step 2: Create an Account
You’ll need to create an account on the eVisa website. This will involve providing your email address and creating a password. Once your account is set up, you can log in and start the application process.
Step 3: Fill Out the Application Form
The online application form will ask for your personal information, passport details, and travel plans. Here’s what you’ll need to fill in:
- Personal Information: Full name, date of birth, nationality, and gender.
- Passport Details: Passport number, date of issue, and expiration date.
- Travel Plans: Your intended arrival and departure dates, the purpose of your visit, and details of your travel itinerary.
Make sure all the information you provide is accurate and matches the details on your passport and other documents.
Step 4: Upload Required Documents
Once you’ve completed the application form, you’ll need to upload the required documents. This includes your passport copy, photograph, travel itinerary, proof of financial stability, and any other documents requested.
Step 5: Review and Submit Your Application
Before submitting your application, take a moment to review all the information you’ve provided. Ensure that everything is accurate and complete. Any mistakes could delay the processing of your visa or even result in rejection. Once you’re satisfied, submit your application.
Step 6: Pay the Visa Fee
After submitting your application, you’ll be prompted to pay the visa fee. The fee amount varies, so check the current fee on the eVisa website. Payments are typically made online using a credit or debit card.
Step 7: Wait for Processing
After you’ve submitted your application and paid the fee, your application will be processed. This usually takes a few business days, but it can vary depending on the time of year and the volume of applications. You’ll receive an email notification once your eVisa is approved.
Step 8: Receive Your eVisa
Once your eVisa is approved, you’ll receive it via email. The eVisa will be in PDF format, which you’ll need to print out and carry with you when you travel to Japan. Make sure to keep a copy of the eVisa on your phone or another electronic device as well, just in case.
Tips for a Successful Japan eVisa Application from Dubai
Here are some additional tips to help ensure a smooth application process:
- Apply Early: It’s always a good idea to apply for your visa well in advance of your travel dates. This will give you plenty of time to address any issues that might arise during the application process.
- Double-Check Your Documents: Make sure all the documents you upload are clear, legible, and meet the requirements set by the Japanese authorities. Any discrepancies could lead to delays or rejection.
- Be Honest and Accurate: Provide accurate information in your application form. Any false or misleading information could result in your visa being denied.
- Prepare for the Unexpected: While the eVisa process is generally straightforward, there’s always a chance of unexpected delays. Be prepared to adjust your travel plans if necessary.
Also Read: How to Get Japan Tourist Visa from Dubai
What to Do After Receiving Your Japan eVisa?
Once you’ve received your Japan eVisa, there are a few things you should do to prepare for your trip:
- Print Your eVisa: As mentioned earlier, print out your eVisa and keep a copy on your phone. You’ll need to present it to immigration officials when you arrive in Japan.
- Prepare Your Documents: In addition to your eVisa, make sure you have all your other travel documents ready. This includes your passport, travel itinerary, accommodation details, and proof of financial stability.
- Plan Your Arrival: Familiarize yourself with Japan’s entry requirements and procedures. Know which airport you’ll be arriving at and how to get to your accommodation from there.
- Enjoy Your Trip: With your eVisa in hand, you’re all set to enjoy your trip to Japan! Whether you’re exploring the bustling streets of Tokyo, soaking in the hot springs of Hakone, or visiting the historic temples of Kyoto, Japan has something for every traveler.
Suggested Read: When to See Cherry Blossom in Japan
Conclusion
Applying for a Japan eVisa from Dubai is a straightforward process that allows you to focus on planning your trip rather than worrying about paperwork. By following this step-by-step guide and ensuring that you have all the required documents, you’ll be well on your way to exploring all that Japan has to offer. Whether you’re visiting for the food, the culture, or the natural beauty, Japan is sure to provide an unforgettable experience. Contact us for expert assistance with Japan evisa application.
So, start your application today, and get ready for an amazing journey to the Land of the Rising Sun!
FAQs on eVisa for Japan from Dubai
Q: Is Japan visa-free for UAE residents?
A: No, UAE residents need a visa to visit Japan. They must apply for a short-term or long-term visa based on the purpose of their visit. However, UAE nationals or Emirati passport holders can enjoy visa-free entry to Japan for a stay of up to 30 days.
Q: Can I extend my stay in Japan with an eVisa?
A: No, the Japan eVisa is meant for short-term stays and cannot be extended. If you wish to stay longer, you’ll need to apply for a different type of visa.
Q: What should I do if my eVisa application is rejected?
A: If your application is rejected, you’ll receive a notification with the reason for the rejection. You can reapply after addressing the issue, or you may need to apply for a different type of visa through the Japanese embassy.
Q: How can I apply for eVisa for Japan from Dubai?
A: Connect with Travnook’s Japan visa consultants, who will guide you throughout the visa process and help you get the visa on time.


